
Water volume
Roof planes and valleys can concentrate runoff quickly. Capacity and outlet placement should respond to where water actually arrives.
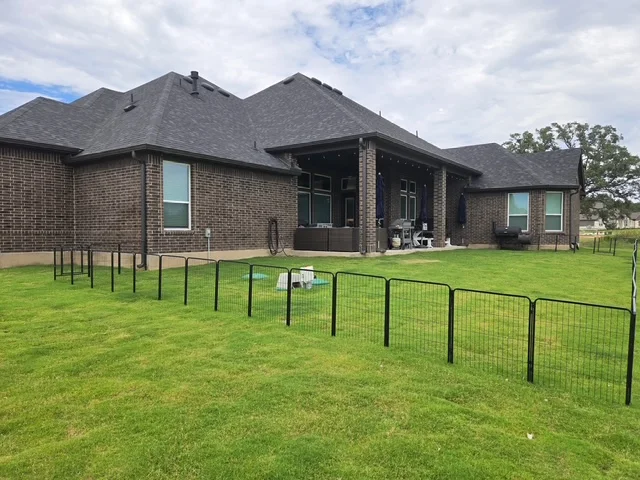
Give rain a controlled route away from your home with seamless gutters formed for your roofline and downspouts placed where they make sense.
Request gutter installationInstallation is the right starting point when the property has uncovered roof edges, an aging system, persistent overflow, or drainage that never worked as one connected plan.
Every home presents a different combination of roof area, valleys, corners, fascia condition, landscaping, and places where water can safely exit. S&H looks at those conditions before recommending how the gutter runs and downspouts should be arranged.
For a new system in the San Antonio area, roof shape, fascia condition, access, and the available discharge points determine the layout long before the first gutter run is formed.
See where S&H works ↗Roof planes and valleys can concentrate runoff quickly. Capacity and outlet placement should respond to where water actually arrives.
The destination matters as much as the gutter. Discharge should move water toward a practical area away from vulnerable edges.
Corners, fascia, drip edges, and long runs affect the layout. A clean appearance should support dependable flow.
S&H offers seamless aluminum systems and can discuss steel or copper when the project calls for a different material. Material is only one decision, though. A useful estimate also accounts for the roof area feeding each run, the condition of the fascia, and the route water will take after it leaves the downspout.
A roof valley can deliver water faster than a broad, simple roof plane. Run capacity, outlet count, and downspout position should respond to those high-flow points instead of treating every elevation alike.
Soft fascia, unusual drip-edge details, and old attachment damage can affect how securely a new system fits. Identifying those conditions early makes the scope clearer and avoids hiding a structural concern behind new metal.
The system is not finished at the bottom elbow. The release point should make sense for the grade, walks, beds, patios, and lower parts of the building so collected water is not simply moved to a new trouble spot.
Installation moves from measuring the structure to locating outlets and checking how the completed system directs runoff.
Review the roof edges, runoff paths, fascia, and existing drainage concerns.
Determine sensible gutter runs, outlet locations, and downspout routes for the property.
Fit the system along the roofline and confirm that the complete drainage path works as intended.
Tell us which parts of your home need gutter coverage and where water is causing trouble now.